Woman vs. Mod Podge: A How To
I’m starting an online class today called Soul Restoration (part 1). Many of you are already familiar with the Brave Girls Club and their wonderful community. Some day my goal is to GO TO Brave Girls CAMP, but until then online Soul Restoration will do… I am excited to do a little “soul cleansing” through art. There’s nothing terribly wrong or anything, but thought that this would be a good way to get a jump start on finding the “old pre infertility nightmare crapola” me. And you can’t go wrong with doing something that involves healing through ART 🙂 SO for the next 8 or so weeks I may be MIA from time to time, but don’t worry, I do have some fun artsy things to share with you. {I may not be sharing my art for Soul Restoration due to the personal nature of it. I will, however, share some techniques that I am learning or exploring and creating with and some other fun goodies I’ve been working on.}
Some of you may also know that Melody Ross (one of the creative geniuses behind Brave Girls Club) is also the Queen of Mod Podge. HA. Yes, that wonderful white gluey goo that adheres, protects, and encases mixed media art.
I want to be a Mod Podge Queen someday.
Today I am a Mod Podge Princess & Monster Conqueror
I conquered the Mod Podge Glued On Lid monster.
And you can, too!
Even if you really want to get a jump start on your journal cover but don’t have a pair of strong masculine hands available at the exact moment you feel the desire to permanently adhere something.
You, too, can be a Mod Podge Monster conqueror. Here’s How:
Step 1:
Attempt to pry open the lid with your hands and fail miserably. Say something naughty to the Mod Podge bottle in hopes that breaking its self esteem down will do the trick. Realize that doesn’t work, so bang the lid on your desk hoping to free up the glue that is holding the lid to the bottle.
Step 2:
Get on facebook and mention your predicament to your 87,896,543,321 friends and hope that someONE, preferably a crafter friend, has a quick n’ easy solution. Get a suggestion from your male non crafty buddy instead. Head out to the workshop {in your wooly socks} for some vise grips or channel lock pliers.
Step 3:
Realize the mouth is not big enough for the lid. Think of something else… (I’d already started step 4, so the glue was dripping down the side. Shush… just keep reading. :P)
Step 4:
Decide that you have run out of patience and just want to get your craft on and move forward. Race off to the food storage room for an empty mason jar. Grab your favorite Fiskars Fingertip Craft Knife from your “sharp things” bucket that hangs underneath your beautiful custom pink InkStak and decide it’s time for the Mod Podge to find a new home.
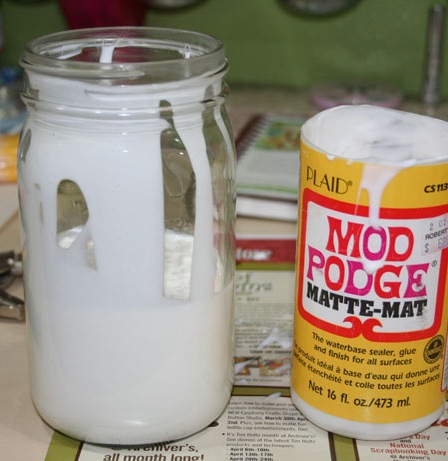
Carefully insert craft knife into Mod Podge bottle. (Pause to snap a photo because you don’t really have an extra hand.) The plastic bottle should be easy to cut, smooth, like buttah. Realize that you’ve spilled a glob of glue on your desk and reposition the Mod Podge bottle over the top of the mason jar. Carefully rotate the bottle while cutting… the Mod Podge goo will pour into the bottle as you cut.
 Step 5:
Squeal (or whatever) with happiness because you finally have access to your Mod Podge!
Step 6:
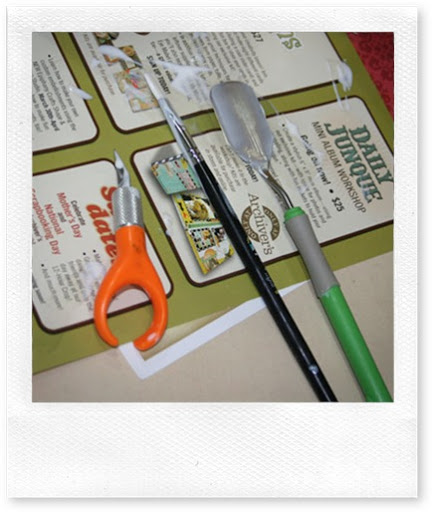
Pour the rest of the Mod Podge into the jar and use a variety of tools to scrape out as much of this golden glue as you can. Be sure to leave behind the evil crustiness that stuck the lid to the bottle. Realize you’ve made a royal mess of your tools and hope you didn’t get Mod Podge on your camera. Hurry off to a sink to wash your tools. Unscrew your craft knife and toss the blade… you’re probably going to need a new one anyway. Take the craft knife apart and wash with hot water.
 Step 7:
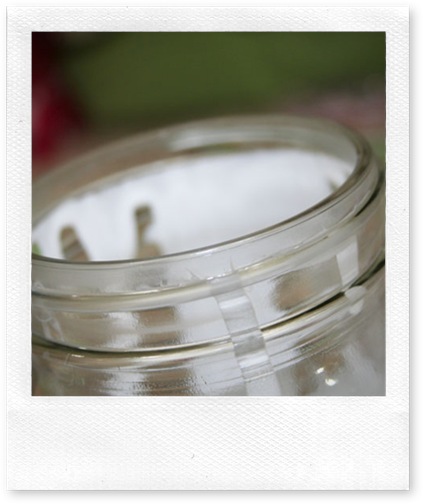
Use a baby wipe or wet rag to wash the mason jar lid. We don’t want a repeat of this method using glass… Top with a lid and call it good. Get excited again to start on your Soul Journal cover.

 Rejoice! You have conquered the Mod Podge Glued On Lid monster. You are now a Mod Podge Princess & Monster Conqueror. So go glue something!
Inky & Gluey Smiles!
Disclaimer: No art supplies {with the exception of the Mod Podge Bottle and Craft Knife blade} were harmed during the making of this tutorial. Information is for entertainment purposes only. Should you need to open your Mod Podge bottle with a craft knife, the risk is yours.

15 thoughts on “Woman vs. Mod Podge: A How To”
yay!! and what a hilarious post.
Now you funny, too…! Glad you conquered the monstah!
(hot water works, too…)
Now you funny, too…! Glad you conquered the monstah!(hot water works, too…)
You are a hoot! I'm dying laughing
teeheehee…..
You're a funny gurl!!!
At least you managed to not cut yourself!! LOL
Yaaaay for it being done now!
So, from now on, just remember to wipe BOTH the outside rim of the jar AND the inside rim of the lid!
When there is a will, there is a way!!!
Now before you put your mason jar away for “next” time. Put a thin layer of vaseline on the threads of the jar so the lid will come off easier.
Hehehe.. thanks everyone.
Lourdes, thanks for the tip! I will do that!
Stacey – where do you get your reusable plastic lids for mason jars?
WooHoo! Glad you beat the mod podge container. 🙂
thanks for the entertainment-you did everything I would have done:)- I have had no internet for 2.5 days 🙁 so I am just catching up- suggestion- use a tiny smear of vaseline jelly on the rim of containers like this to help prevent it happening again-plastic or glass
I think we've all learned the hard way and found the vaseline tip somewhere along the road. I also use it for paint too because that can dry and make it impossible to take off when you want.
You REALLY do need to do writing.
love the vaseline trick! saves us a lot of money and aggrevation!
Great post E !
What a fun and useful post. I'm going to pull my mod podge bottle out of hiding and give this a try. I will also use the vasline idea. Thank you everyone! Happy Mod Podging!
TGFI… Thanks God for the Internet. I've had an ongoing battle with my mod Podge Bottles for about 2 years. Not that I use it often, obvioulsly, but some how I couldnt bring my self to trash the 6 oz that was left in my 8 oz bottle. I have 2 bottles…Glossy and Matte…why choose when you'll probably need both,right.
Anywho, thanks for this post. You have made me laugh, made me smack my head (for being so uninspired), and you've saved 2 bottles from sure destruction!
MY CRAFTY SHERO!!